


How to Sew a Lined Coat: Step-by-Step Guide
Coat sewing · Step-by-step guide with videos
A lined coat that looks beautifully finished, inside and out
To sew a lined coat, you sew two coats: the outer coat in wool and the lining. You join them along the fronts, the sleeves and the hem, then turn the whole coat right side out through an opening left at the hem. This is called bagging the lining. None of the steps is hard on its own: the secret is to follow the right order. This guide takes you from cutting to the last snap, with a video for the trickiest steps.
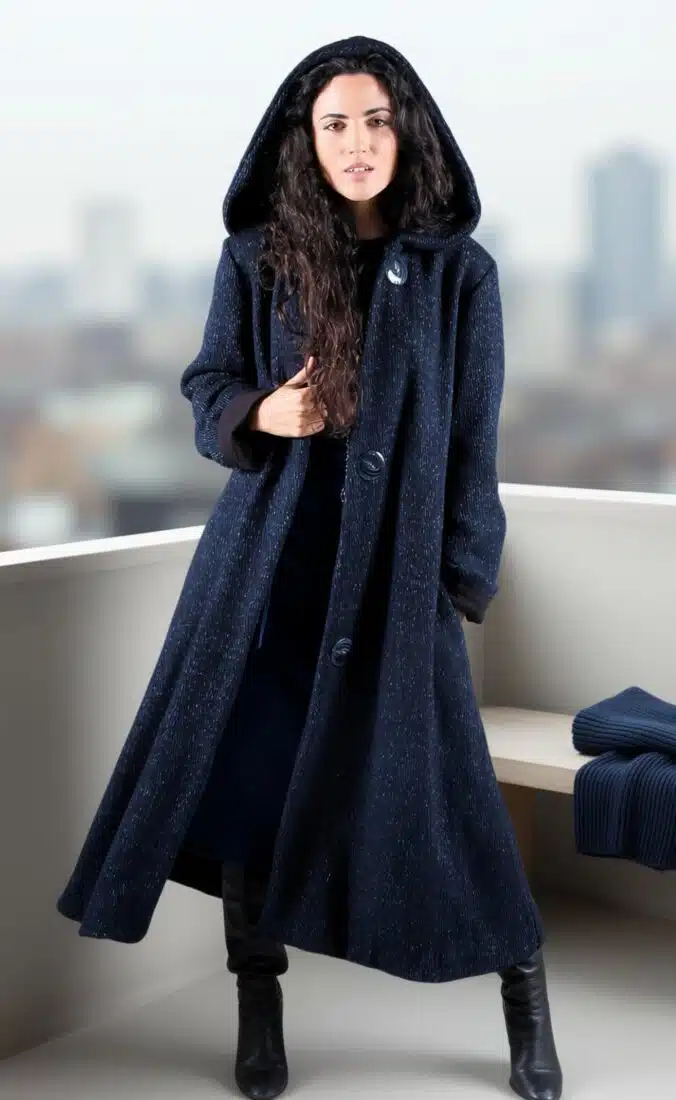
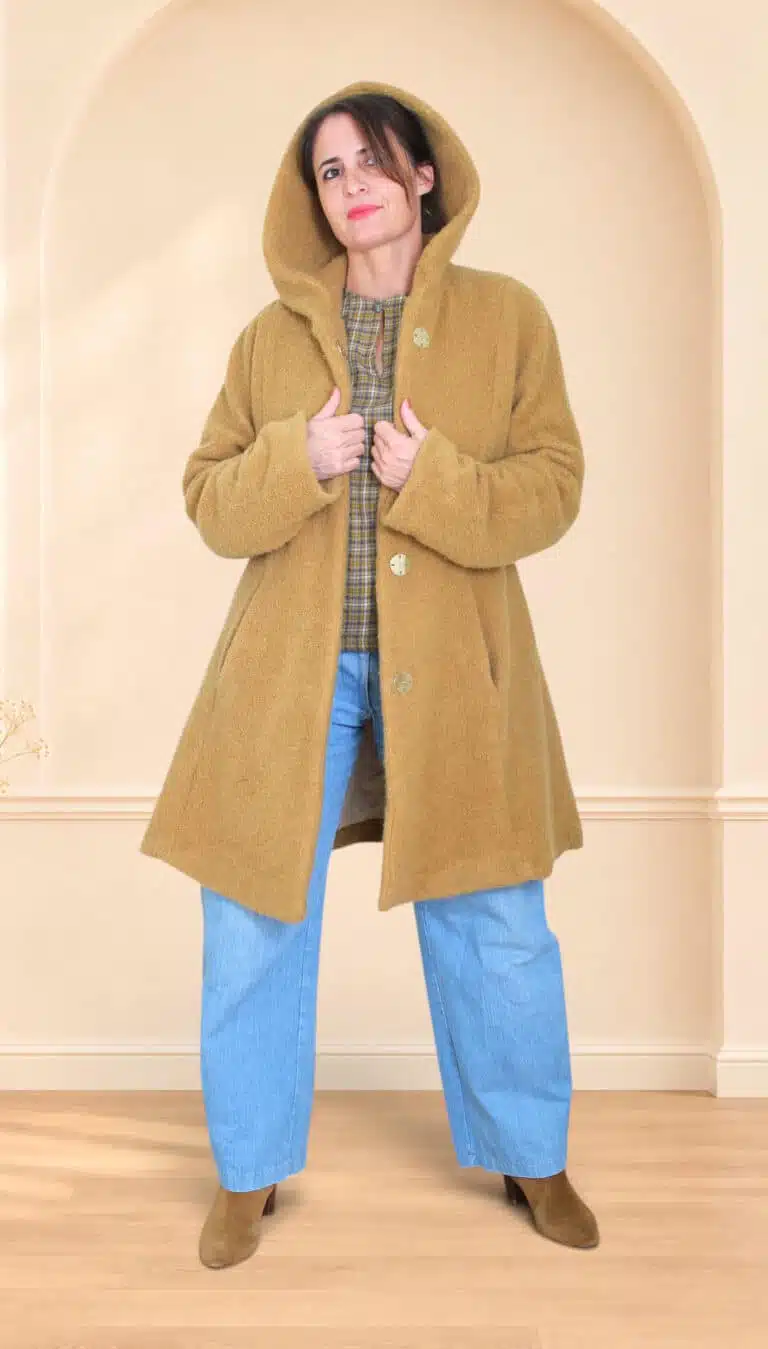
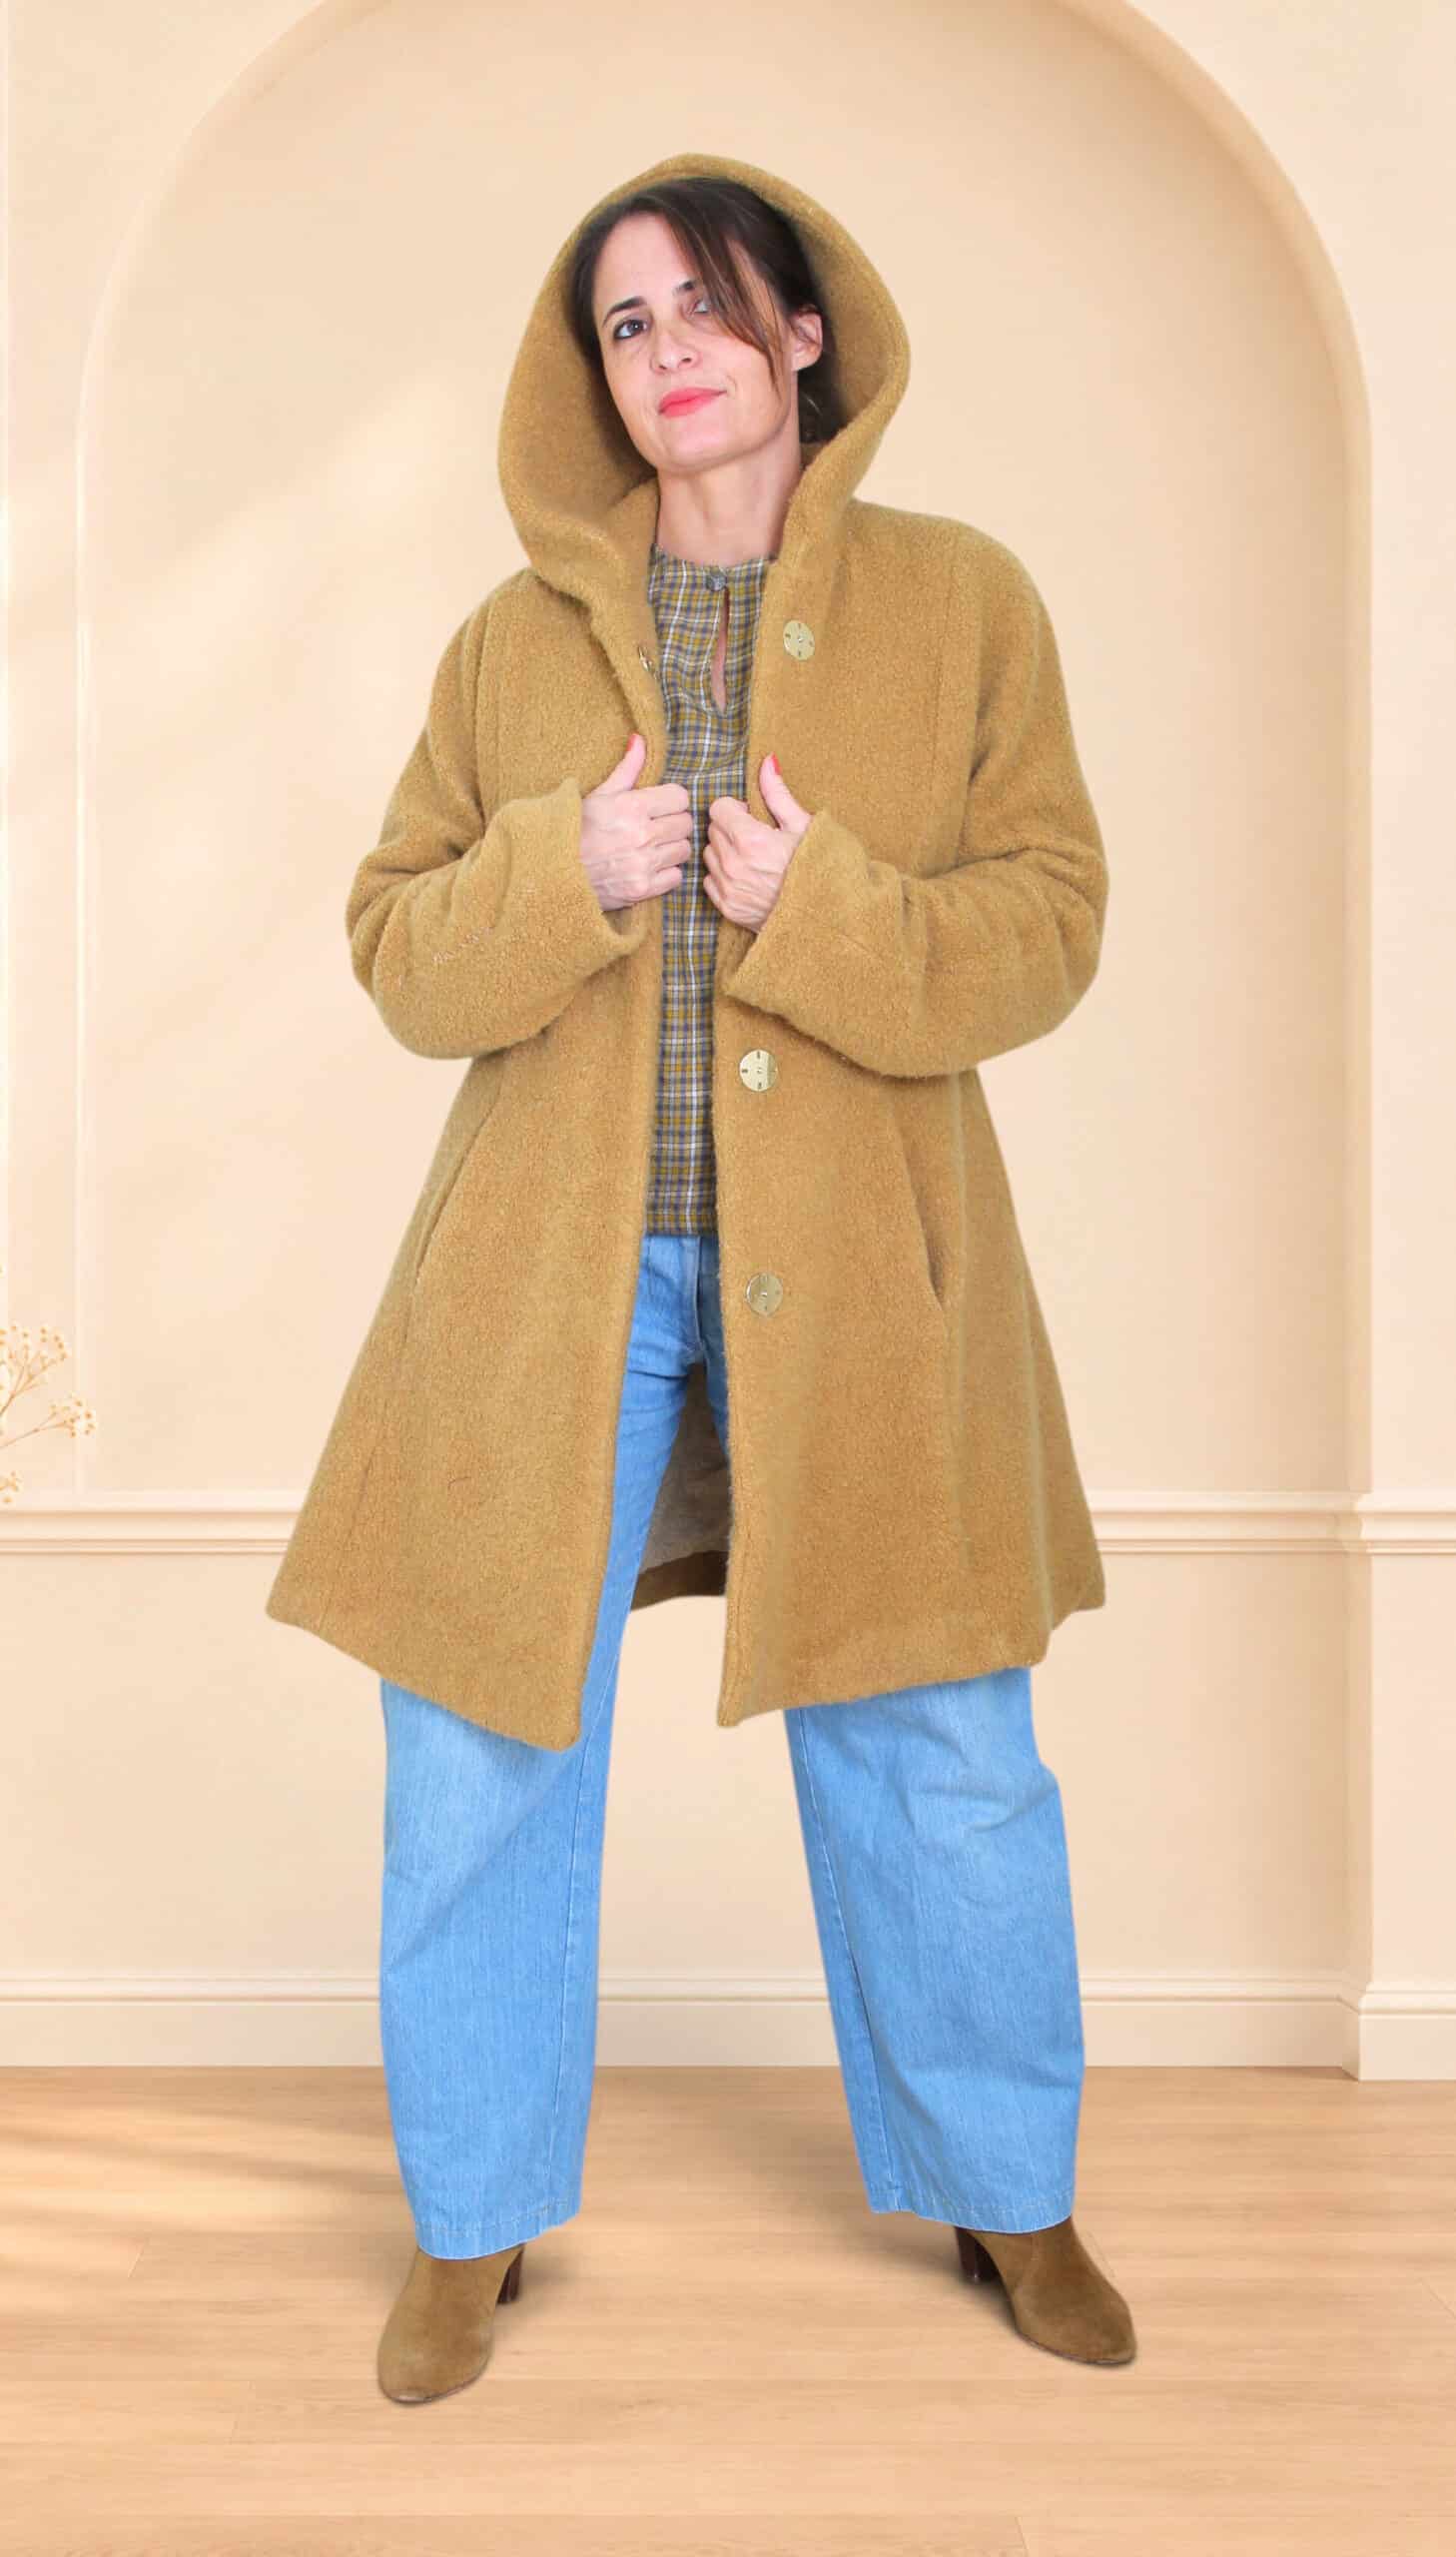
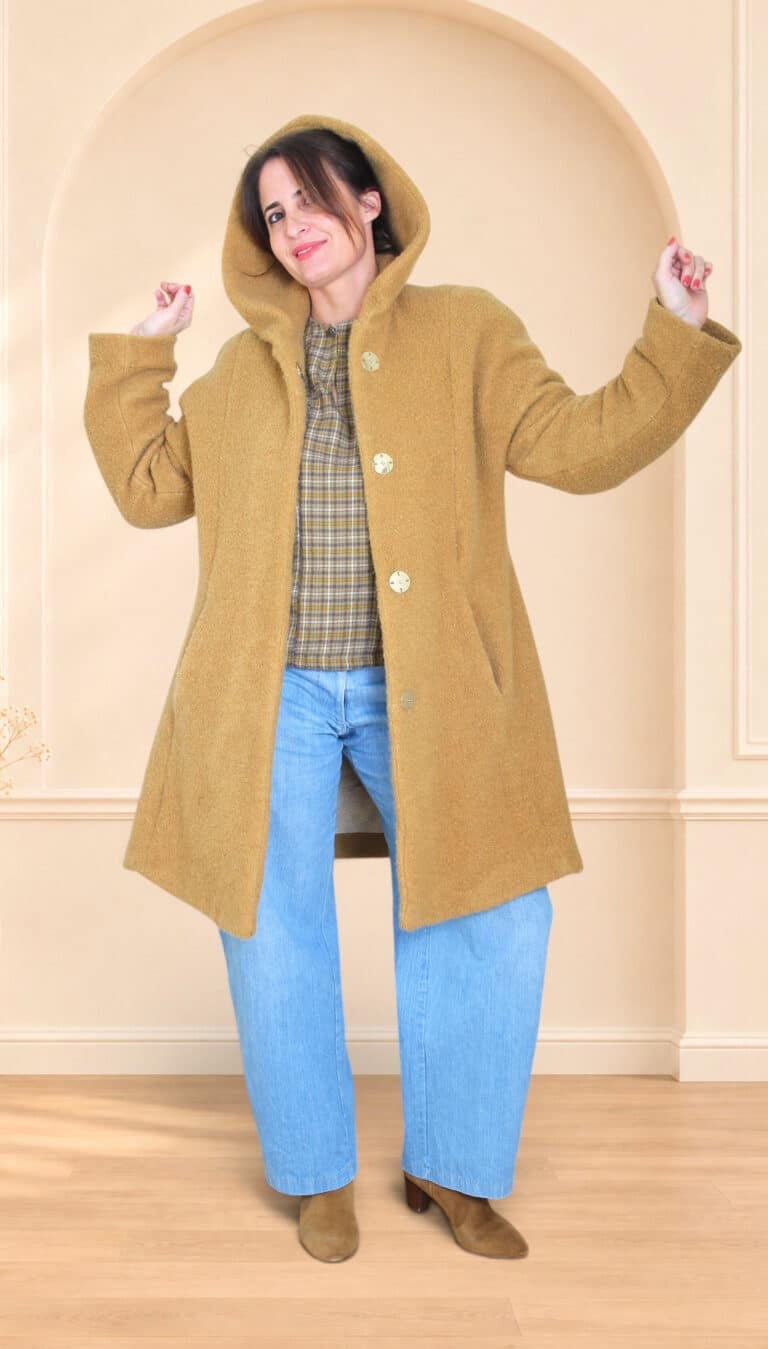
The examples come from two fully lined patterns: the CHAMADE oversized coat and the ORIANE hooded teddy coat.
Quick answer
Sew the outer coat and the lining separately. Join them along the fronts and neckline, line the sleeves through the open hem, secure the facings, then sew the hem, leaving an opening. Turn the coat through it and close it by hand.
In this guide
▼ Before you start
What you need
- Main fabric: a medium to heavy wool, such as wool melton, boiled wool, bouclé or teddy. Avoid very stiff fabrics, which make a coat look heavy.
- Lining: viscose, cupro, acetate or a light satin. It should be slippery, so the coat slides on easily over a sweater.
- Fusible interfacing for the facings and the areas marked on the pattern.
- Buttons or snaps: 3 for Chamade, 5 for Oriane.
- Matching thread, a hand-sewing needle, pins or clips, an iron and a pressing cloth.
Yardage: As an example, Chamade in size XXXL takes 3.5 m (138 in) of main fabric and 2.7 m (106 in) of lining, in a 150 cm (59 in) width. The exact yardage for each size is on every pattern page. To buy only what you need, ask for our free custom cutting layout.
▼ Before you start
Three tips before you cut
- Pick the right size. Chamade is intentionally oversized: for a closer fit, cut one size smaller.
- Pre-shrink your wool with a steam iron before cutting, so it doesn’t shrink the first time you press it.
- Cut the lining flat, with pattern weights and a rotary cutter if you can. It slides much more than wool.
Step 1 of 8
Prepare the pieces
Fuse the interfacing to the wrong side of the facings and of the pieces marked on the pattern. Transfer the notches and markings to every piece, in both wool and lining. They are what keep the two coats lined up when you join them.
Step 2 of 8
Sew the outer coat
Sew the pockets first. Then join the shoulders, side seams and sleeves. Press each seam open under a pressing cloth, so the wool doesn’t turn shiny.
On Chamade: the pockets are welt pockets. Sew them on the flat front pieces, before you join anything.
Full tutorial: How to sew a welt pocket
On Oriane: the pockets sit in the front panel seams. Also attach the hood at this stage: pin it to the neckline right sides together, without stretching either edge. The pattern gives two finishes, with or without a facing.
Full tutorial: How to sew a pocket in the side seam
Full tutorial: How to attach a hood to a coat
Step 3 of 8
Sew the lining
Sew the lining the same way as the coat: shoulders, side seams and sleeves. Then sew the facings to the lining fronts.
Good to know: you don’t need to leave an opening in a seam. With Chamade and Oriane, you turn the coat through the hem (step 7).
Step 4 of 8
Join the lining to the coat
Place the lining on the coat, right sides together. Pin along the fronts and neckline, matching the notches, and stitch. Trim and clip the seam allowances on the curves so they lie flat. Finally, understitch the seam allowances to the facing: the edge will roll to the inside and the lining won’t show.
Full tutorial: How to understitch a facing or a lining
Step 5 of 8
Line the sleeves
This is the step most sewists dread, and it only takes a few minutes. Reach in between the coat and the lining at the bottom, which is still open, and slide the lining sleeve inside the coat sleeve. Match the edges, pull them out together through the bottom, then stitch all the way around, right sides together. Turn the sleeve right side out and hand stitch the sleeve facing in place.
On Chamade: the sleeve hem is adjustable: wear it turned up or rolled down. Press it in the position you prefer.
Full tutorial: How to sew a garment sleeve with lining
Step 6 of 8
Secure the facings
To keep the facings in place, tack their edges to the wrong side of the coat with a few hand stitches.
Full tutorial: How to sew facings on a lined garment
Step 7 of 8
Sew the hem and close the opening
Stitch the bottom edge of the coat to the bottom edge of the lining, right sides together, matching the side seams. Leave a wide opening in the middle of this seam: this is where you will turn the whole coat right side out.
Turn the coat, fold up the hem to the length you want and check that it is even all the way around. Then hand stitch it with small stitches that catch only a few threads of the wool, so nothing shows on the right side. Finally, fold in the seam allowances of the opening and close it with a ladder stitch. Press lightly, and your lining is done.
Full tutorial: How to close a lined garment
Step 8 of 8
Add the snaps or buttons
Mark both halves of each snap before sewing, so they line up when the coat is closed. Sew them with doubled thread: a coat is opened and closed every day.
Full tutorial: How to sew snap buttons by hand
Which pattern?
Chamade or Oriane: which pattern for your lined coat?
| CHAMADE | ORIANE | |
|---|---|---|
| Look |  |
 |
| Technical drawing | 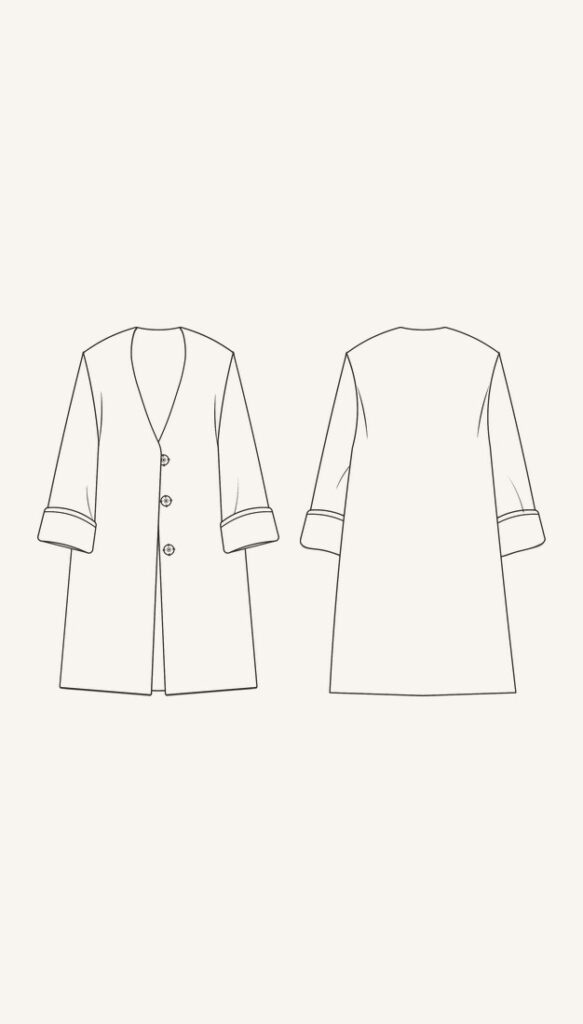 |
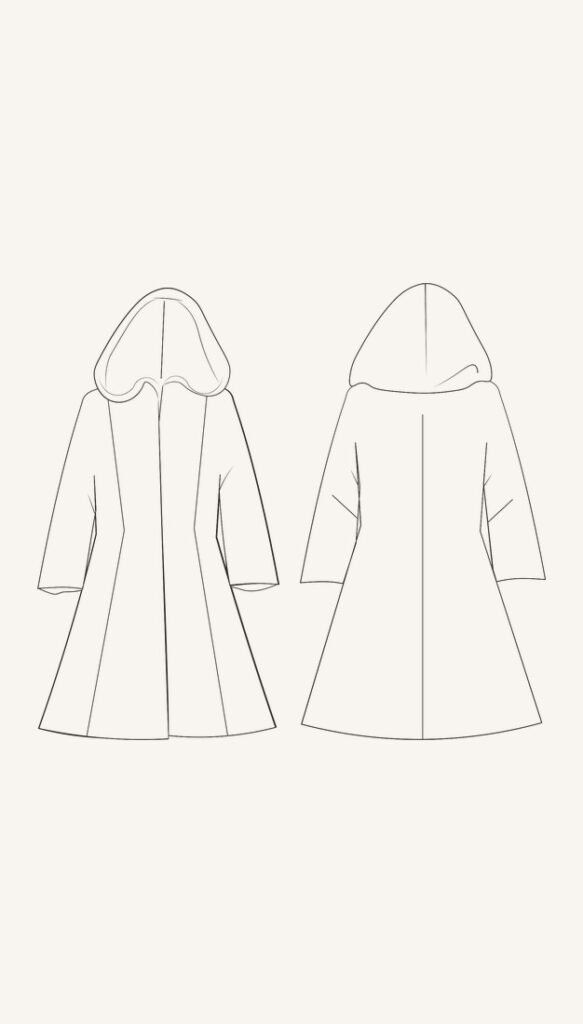 |
| Style | Oversized, collarless, dropped shoulders | A-line, gently fitted waist, hood |
| Closure | 3 snaps or buttons | 5 buttons or snaps |
| Pockets | Welt pockets | In the front panel seams |
| Recommended fabrics | Soft wool melton, boiled wool, bouclé | Teddy, sherpa, bouclé, boiled wool, coating |
| Level and time | Intermediate, 4 to 5 hours | Intermediate, about 5 hours |
| Sizes | XS to XXXL | XS to 4XL |
Both patterns include illustrated instructions, videos for the key steps and seam allowances. If you prefer an unlined coat, the unlined pattern pieces are available on request.
Your questions
Frequently asked questions
Can a beginner sew a lined coat?
Yes, if you have already sewn a few simple garments. Lining a coat is mostly about method: follow the steps in order, match the notches and use the videos.
What fabric should I use to line a coat?
A slippery lining: viscose, cupro, acetate or a light satin. Viscose and cupro breathe better than polyester and stay comfortable to wear.
Where do you turn a lined coat right side out?
Through an opening left at the bottom, in the seam that joins the coat hem to the lining. You close it by hand with a ladder stitch at the very end.
Do I need to interface the whole coat?
No. Interfacing goes on the facings and on the areas marked on the pattern, to support the edges and the buttons.
How long does it take to sew a lined coat?
Allow 4 to 5 hours for Chamade and about 5 hours for Oriane, depending on your experience.
Can I sew Chamade or Oriane without a lining?
Yes. The pieces for an unlined version are available on request.
Ready to sew your coat?
Choose your design: the CHAMADE oversized coat for a relaxed look, or the ORIANE teddy coat for a cosy winter. A question while you sew? Write to me and I’ll answer you personally.